
DIY floating shelves are one of the cheapest ways to add storage and style to a room at the same time. A single shelf can hold books, plants and framed photos; a row of them can transform a blank wall into a display. And because floating shelves hide their brackets, they look far more expensive than they cost. This guide covers the materials, tools, rough costs and the step-by-step method, so you can build shelves that stay level, hold real weight and look store-bought.
Why DIY Floating Shelves Are Worth Making
Shop-bought floating shelves are not expensive on their own, but the price adds up fast once you need three or four, and the sizes are rarely exactly what your wall needs. Making your own solves both problems: you choose the length, depth and finish, so the shelf fits the space. A basic shelf costs roughly $10 to $25 in materials, while a comparable ready-made shelf often sells for $30 to $60. Check the current price before buying any hardware, as prices vary by store and region.
There is also a satisfaction factor. A floating shelf is a genuinely beginner-friendly woodworking project: straight cuts, a few screws and some sanding. For more beginner-friendly wall projects, see our DIY wall decor ideas on a budget.
What You Need: Materials and Tools
Keep the shopping list short. For one shelf, roughly 60 cm long and 20 cm deep, you need a length of solid wood or laminated pine board, a hidden bracket or a pair of heavy-duty floating shelf brackets, wall plugs and screws rated for your wall type, wood filler, sandpaper in 120 and 220 grit, and your chosen finish — paint, stain or clear varnish.
The tools are just as modest: a tape measure, a spirit level, a pencil, a drill, a saw (a handsaw works fine for pine), a stud finder and a screwdriver. You do not need a workshop or specialist equipment — a kitchen table with a protective cloth will do.
Choosing the Right Wood
Pine is the best choice for beginners: cheap, light and easy to cut and finish. For a richer look, oak or walnut work well but cost more and are harder to cut by hand. Whatever you choose, the board should be at least 2.5 cm thick so it does not flex under weight.
Reclaimed wood is another option, and it suits rustic and farmhouse rooms beautifully. Check it carefully first: pull out any old nails, sand it thoroughly, and make sure it is straight — a warped board will never sit level, however good your brackets are.
How Much Do DIY Floating Shelves Cost?
A realistic budget for one shelf is roughly $10 to $25 in materials. A pine board costs roughly $5 to $12, a hidden bracket kit roughly $5 to $10, and screws, plugs, sandpaper and finish add a few dollars more. The main cost is your time: expect about an hour per shelf, plus drying time for paint or stain.
Step by Step: Building and Fitting Your Shelves
1. Plan the Layout
Decide where the shelves will go before you buy anything. The most common mistake is hanging shelves too high: for display shelves, eye level or just above is usually right. If the shelves are above a desk or a sofa, leave at least 30 to 40 cm of clear space above the furniture so nothing feels cramped.
For a row of shelves, space them 35 to 45 cm apart vertically, so tall books and plants fit comfortably between them. Use a spirit level to mark the line across the wall — a shelf that looks level is one that was measured properly.
2. Find the Studs
This is the step that decides whether your shelves hold weight or end up on the floor. Floating shelves rely entirely on their wall fixings, so they must be anchored into studs wherever possible. Run a stud finder along the marked line and mark each stud with a small pencil cross. Studs are usually spaced about 40 cm apart.
If no stud lines up with your shelf position, use heavy-duty wall anchors rated for the weight you plan to load — toggle bolts for plasterboard, or masonry plugs for brick and concrete. Never rely on a single small screw in bare plasterboard; it will pull out under load.
3. Cut, Sand and Finish the Wood
Measure twice and cut once. Sand the cut ends first with 120-grit paper, then go over the whole board with 220-grit until it feels smooth. Round the front edge slightly — sharp edges chip easily and feel unfinished.
Apply your finish before fitting the shelf, not after. Paint gives the cleanest result for beginners: two thin coats with a light sand between them look far better than one thick coat. Stain shows the wood grain and suits warmer rooms, but it needs a clear top coat to protect it. Let the finish dry fully before handling the shelf, and work in a ventilated space.
4. Fit the Bracket and Hang the Shelf
Mark the bracket positions on the wall using your level, then drill pilot holes and fit the wall plugs. Screw the bracket firmly into the studs or anchors, and check it with the level again — a bracket that is even slightly off will make the shelf slope. Slide the shelf onto the bracket rods and tighten the small grub screw underneath to lock it in place.
Step back and check the shelf from across the room. If it slopes, loosen the bracket, adjust it by a millimetre or two, and retighten.
5. Style It — and Don’t Overload It
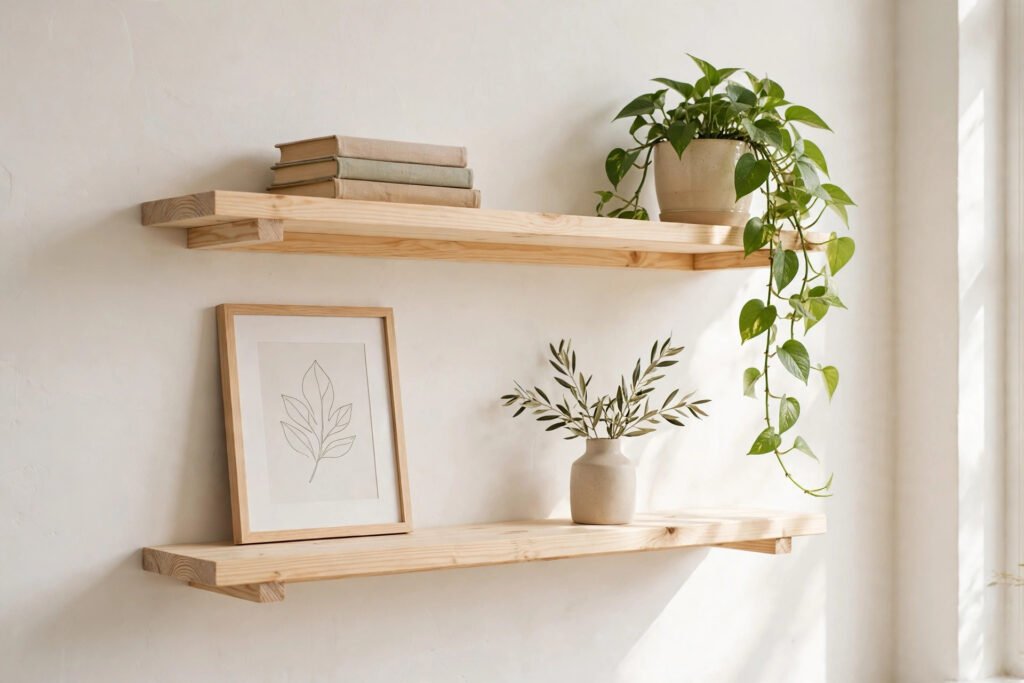
A floating shelf looks best with breathing room. Group items in odd numbers, mix heights, and leave some empty space: three objects and a plant look styled, while a shelf packed edge to edge looks like storage. Our guide to how to style open shelves in the kitchen uses the same principles and works just as well in a living room, and our budget entryway decor ideas show the same approach in narrow spaces.
Be honest about weight. A well-fitted shelf on studs can hold books comfortably, but a shelf on plasterboard anchors alone should stick to lighter objects — plants, frames and ornaments rather than a full row of hardbacks. If you are unsure, load it gradually and check the fixings after a week.
Common Mistakes to Avoid
The most frequent mistake is skipping the stud finder and trusting a single screw. The second is hanging the shelf before the paint is dry, which leaves fingerprints and dents in the finish. The third is making shelves too deep: a depth of 15 to 20 cm suits most display items, while deeper shelves cast shadows and tempt you to overload them.
For a cohesive look, repeat the shelf finish elsewhere in the room: a pine shelf pairs with a light wood frame, a dark stained shelf with dark furniture. If you are building a full display wall, plan it like a gallery — our budget-friendly gallery wall ideas explain how to arrange frames and objects so a wall looks intentional rather than crowded.
FAQs
How much weight can DIY floating shelves hold?
It depends on the fixings, not the wood. A shelf screwed into wall studs with a proper hidden bracket can typically hold 10 to 20 kg. The same shelf on plasterboard anchors alone should be limited to a few kilograms of light objects. Always check the bracket manufacturer’s rated load and stay below it.
Do I need a stud finder to hang floating shelves?
Not strictly, but it makes the job far easier and safer. Without one, you can tap the wall and listen for the solid sound of a stud, but a basic stud finder is inexpensive and removes the guesswork. If you cannot hit a stud, use heavy-duty toggle bolts rated for your load.
What is the best wood for DIY floating shelves?
Pine is the best choice for beginners: cheap, light and easy to cut and finish. For a richer look, oak or walnut work well but cost more and are harder to cut by hand. Whatever you choose, the board should be at least 2.5 cm thick so it does not flex under weight.
Can I make floating shelves without a saw?
Yes. Most hardware stores will cut boards to length for a small fee, sometimes free. Buy the board, ask for the cuts, and take the pieces home ready to sand and finish. You will still need a drill for the bracket, but the sawing is the part most beginners worry about, and it is easy to outsource.
How do I keep floating shelves level?
Mark the bracket line with a spirit level, not by eye, and check the bracket again after screwing it in, before sliding the shelf on. If the shelf slopes slightly, loosen the bracket screws, nudge the bracket, and retighten.